Home exterior repainting prep: repair steps that extend life
Exterior paint lasts longer when the surface is repaired, cleaned, dried, sanded, sealed, primed, and painted under suitable conditions. Prep is not a cosmetic extra; it is the part of the work that helps the coating bond to a sound surface instead of covering defects that will return.
Exterior prep snapshot
Before repainting, inspect the home for moisture, rot, failing caulk, loose paint, rust, chalking, cracks, damaged trim, open joints, and unsafe access. Repair the cause first, then prepare the surface. Paint should be the finish layer, not the repair strategy.
Why repainting fails early
Many early repainting problems are prep problems. Peeling paint may come from trapped moisture, poor surface cleaning, incompatible coatings, painting over chalky residue, missed primer, or movement at joints. Blistering, cracking, mildew, and staining can also point to problems underneath the coating.
The surface tells a story. A sunny wall, shaded wall, coastal wall, and wall under a leaking gutter may all need different attention. Good prep looks at exposure, not just color. If exterior maintenance is tied to a broader project with material purchasing challenges, coordinate coatings, sealants, replacement boards, fasteners, and rental access with construction procurement planning for volatile materials.
Start with safety and lead awareness
Homes and buildings constructed before lead paint restrictions may contain lead-based paint. The U.S. EPA's Renovation, Repair and Painting Program explains that renovation, repair, or painting work in pre-1978 homes and child-occupied facilities can create hazardous lead dust when lead-based paint is disturbed. Property owners and contractors should verify requirements before sanding, scraping, or disturbing old coatings.
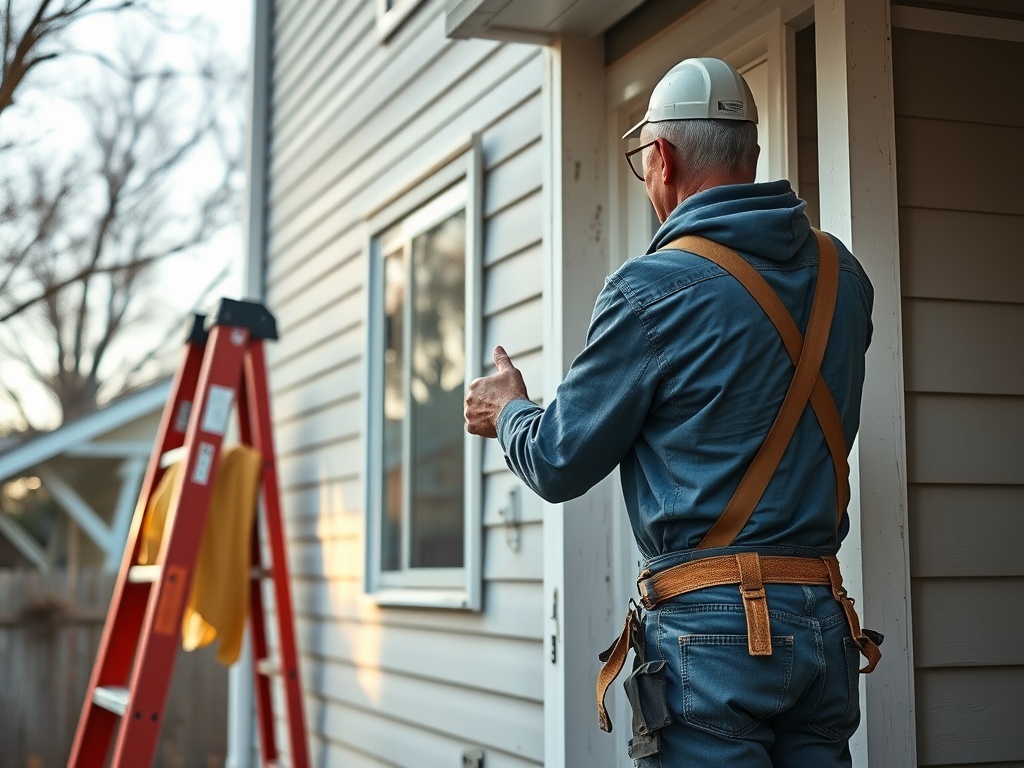
Access matters too. Exterior painting may involve ladders, scaffolds, lifts, roof edges, decks, and uneven ground. For interior or exterior elevation risks, the principles in working at height planning are relevant: choose the right access method, inspect it, control the fall hazard, and plan rescue where required.
Inspect before you wash
A strong inspection starts at the roofline and works down. Look at gutters, downspouts, flashing, window heads, trim ends, siding edges, penetrations, decks, rail attachments, and foundation splash zones. Water sources should be corrected before washing and painting. Otherwise, the new finish may hide an active problem.
Document problem areas with photos and notes. Separate defects into three groups: coating failure, surface damage, and moisture or movement issues. Coating failure may need scraping and sanding. Surface damage may need patching or replacement. Moisture and movement may need repairs before coating work begins.
Prep decisions by condition
| Condition found | Likely prep response | What to avoid |
|---|---|---|
| Peeling or loose paint | Remove loose coating, feather edges, prime bare areas | Painting over edges that are still lifting |
| Chalking | Clean until residue is controlled | Assuming primer will fix dirty powdery surfaces |
| Failed caulk | Remove failed material and recaulk compatible joints | Caulking over cracked or detached bead |
| Soft or rotten wood | Repair or replace affected material | Filling deep rot and painting over it |
| Rusting metal | Remove loose rust, use suitable primer | Leaving active rust under finish coat |
| Mildew or staining | Clean and correct moisture source | Treating stain as color-only issue |
Wash, dry, and sand with patience
Cleaning removes dirt, mildew, salts, chalk, and loose residues that interfere with adhesion. The right cleaning method depends on substrate and condition. Aggressive pressure washing can damage siding, drive water behind cladding, or scar softer materials. Gentle washing, appropriate cleaners, and adequate drying time are often more important than speed.
Sanding should smooth edges and create a sound surface. Bare wood, patched areas, and glossy surfaces may need primer or deglossing depending on coating requirements. Follow manufacturer instructions for the specific coating system and local conditions.
Repair joints, openings, and trim before paint
Paint cannot compensate for failed joints. Recaulk open seams, seal penetrations, address cracked trim, reset loose fasteners where appropriate, and replace deteriorated material. Pay close attention to horizontal ledges, window sills, door trim, fascia, and locations where water sits.
Small repair decisions affect the final appearance. Patching a damaged board may look acceptable in a low-visibility area but not at an entry. Replacement may be more durable where rot is advanced or movement is expected. These are judgment calls, not universal rules.
Choose primer based on the problem
Primer is a problem-solving layer. Bare wood, metal, patched surfaces, stained areas, masonry, and glossy existing coatings may need different primers. A stain-blocking primer is not the same as a bonding primer, and a metal primer is not the same as a wood primer. Manufacturer instructions and substrate condition should drive the choice.
Do not skip spot priming on bare areas just because the finish coat is high quality. A finish coating performs best when the surface below it is compatible, clean, dry, and sound.
Weather and sequencing matter
Exterior painting depends on moisture, temperature, wind, sun exposure, and drying conditions. Painting too soon after washing, too close to rain, or on an overheated surface can affect adhesion and finish quality. Work sequence should follow shade, exposure, access, and drying needs rather than only crew convenience. Good sequencing also helps protect finished areas from dust, overspray, foot traffic, and early weather exposure while nearby repairs continue.
If measuring moisture, surface temperature, or coating thickness, make sure instruments are reliable and ready. The article on calibrating measuring tools and testing equipment explains how calibration records help teams trust the numbers they use.
Repainting prep checklist
1. Identify lead, access, and site safety concerns before disturbing old paint.
2. Inspect moisture sources, trim, joints, siding, metal, masonry, and fasteners.
3. Repair the cause of deterioration before covering the symptom.
4. Clean the surface using a method suited to the substrate.
5. Allow adequate drying based on material and weather conditions.
6. Scrape, sand, feather, patch, and replace damaged material where needed.
7. Prime bare, patched, stained, or incompatible surfaces with the right product.
8. Paint within the coating manufacturer's recommended conditions.
This article is for informational and educational purposes only. It does not replace professional construction, environmental, safety, code, or project management advice. Lead-safe work, fall protection, surface repairs, and local requirements should be verified for the specific property.
Make paint the finish, not the fix
A repainting project succeeds when the surface is ready before the first finish coat. Repair water problems, remove loose material, clean and dry the substrate, and use primer intentionally. The paint will look better, and the maintenance cycle will be easier to plan next time.